Introduction
Basic Setup
Setting up the bot may seem complicated at first, but this guide will take you through a step-by-step process.
Permissions
Please note that you need Administrator permission to use all commands shown in this article.
The Steps
1. Invite the bot and select the server you wish to add it to

2. Once the bot is in your server, you can link your first channel and role, using the /link command.

3. You should see that when you join the voice channel, you are given the role that you specified.
Role Hierarchy
If you are not given the role, you may need to check that the 'VC Roles' role is above the role you are trying to add in the role list.
4. To unlink a voice channel and role, use the command /unlink

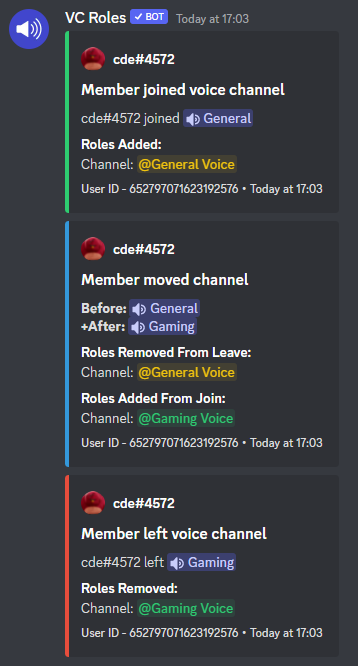
5. Now you know how to link and unlink voice channels, let's set up audit logging in your server. Use the command /logging.

Whenever a member joins, leaves, or changes voice channels, a message will be sent there with any role, suffix and channel changes to let you know.

6. As well as audit logging, you can set up TTS in your server now, using the /tts setup command. You can choose to enable or disable TTS with this command, and whether or not to lock it to a certain role.

That's it! You have completed the basic server setup
To see what else the bot can do, view the Features page.